Frequently Asked Questions
To help you become quickly familiar with our site, we have listed the most frequently asked questions by users with easy to understand answers. If you do not find the information you need in these replies, do not hesitate to email us. Click here to send us an e-mail or call us at 1-800-361-4607 for immediate assistance.
A promotional code is entered at the end of the ordering process, on the page confirming the order.
Unless mentioned otherwise, promotional codes cannot be combined with any other promotion or rebate offers. If a promotion code is inserted, while a promotion is offered, the best price value offer will be provided based on the retail price.
Online Orders
Windows, Mac OS, iOS, Android and Linux Operation Systems are all compatible. You may upload your pictures, create and order all photo items from a computer, a smartphone or a tablet.
Our servers are HTML5 compatible and optimized for Mozilla Firefox, Google Chrome, Safari and Internet Explorer (latest generation) browsers along with most browsers used in smartphones and tablets.
No plug-in needs to be installed.
Note concerning Microsoft Silverlight projects? As of July 30, 2016, we have permanently removed the photo-making module based on Microsoft Silverlight technology because of the estimated security risk with this plug-in technology.
My photo files
Our HTML service allows the download of JPG or JPEG files.
- BMP, PNG, TIF, TIFF, HEIC and HEIF formats are also permitted, but it is best to use JPG and JPEG formats.
- GIF files are not accepted because the print quality would be insufficient.
Image file names must not exceed 150 characters.
We do offer a number of print sizes. The best sellers are 4x6 and le 5x7 in.
- Regular size: 4x6 (10x15cm)
- Alternate size: 4x5⅓ (10x13.5cm)
- Larger size: 5x7 (12.7x17.8cm)
- Square sizes: 4x4 and 5x5 (10x10cm and 12.7x12.7cm)
Common Enlargement Sizes (in.)
8x8, 8x10, 10x10, 8x12, 8x14, 10x10, 11x14, 12x12, 12x16, 12x18, 16x20, 16x24, 20x24, 20x30, 24x30, 24x36, 30x40
Panoramic Prints (in.)
- 4x7 to 17¾
- 4½x8 to 17¾
- 5x9 to 17¾
- 8x14 to 17¾
- T-shirt: 8x10 (20 x 25cm)
- Mug: 3.2 x 3.2 (8 x 8cm)
- Mouse pad: 8x10 (20 x 25cm)
- Calendars: 11x8.5 (28 x 21.6cm); 8.5x11; 12x16; 5.75x12; 8x8; 10x10; 12x12, Desk 0x0; Planning 0x0, Diary 0x0, Desk Pad 0x0;
- Home Decoration: Sizes vary for each product category i.e. Canvas Prints, Acrylic or Metal Prints, Laminated Prints, etc.;
- Photo Books: 8.5x11 (21.6 x 28cm), 11x8.5; 12x12; 10x10; 8x8; 8x10; 10x8; 8x6; 10x10; 6x6
It is always recommended to use the maximum resolution for printing.
We automatically read your image resolution and compare it to the minimum resolution required (150 ppi – pixels per inch) to produce a satisfying quality. The resolution, measured in pixels is the total quantity of digitized data stored in a digital image. The higher the resolution, the better the detail rendering.
Our application tags images whose resolution is low with '!' or insufficient with an 'X"'. The '!' means you can print the image while expecting a lower quality depending on the subject.
An 'X' indicates the resolution is simply not sufficient enough for printing.
Many factors such as the speed of your Internet connection, the traffic on Internet and the size of the file will bear influence on the duration of the upload process.
There is no established limited to the number of image files in a single order. Of course, the upload process will take more time if there are many files. What's more, you can order as many as 9999 prints of the same image file without any impact on the upload time.
How To
Simply use the 'Browse' button to navigate in your files to select images.
If you use removable media like a USB key or an external hard drive, you must leave it connected until the upload is completed.
No. All browsers today are compatible with HTML5 commands.
No. However, if you're not using a digital camera, the photos and slides will need to be digitized (scanned). You may, at the photo counter, ask for the transfer of your images onto a CD-ROM (see prices in store).
You will then have access to your images on your mobile or your computer and be able to order prints or books and calendars online.
There are several ways to improve your online experience by changing some settings on you computer:
-
You may select smaller or larger characters in your browser. As much as possible, we use fonts whose size is variable so you can change the setting at will.
-
2. You can change the screen and font settings in the display or System Preferences panel of the Operating System (OS). Our site works with screen resolution of 1024 x 768 pixels or more.
-
3. You may change the colour display. Colour settings in the display panel of your operating system should be set to "Colour (16 bits)" or "True Colour (24 or 32 bits)". Recent video cards support 24 or 32 bits, and even older ones usually support at least 16 bits. On Mac's, you will find various possible settings in the 'Displays' panel of the OS.
Most screens have buttons that allow you to control contrast, brightness, saturation and so on.
Please note that our Laboratory is equipped to print your pictures according to very exacting colour standards, while most screens are not as finely tuned. So even if your picture does not look exactly the right colour on your screen, it is usually preferable not to retouch it.
Image Editing
Definitely. These changes will vary according to the type of product you are ordering as follow:
-
Prints and Photobooks
You may crop your images and change their orientation (portrait (vertical) or landscape (horizontal). You can also select part of the image as if you were zooming in. Furthermore, you may correct red eyes.
-
Gift shop Items
You may crop your images, change their orientation and even transform the base images by converting them in B&W or Sepia. To further edit your pictures, specialized softwares are available such as Pixelmator, Photoshop Elements, Graphic Converter, and Adobe Photoshop.
You may try different croppings in order to get the final composition that pleases you the most. Take note that our automatic cropping will accept an image only if the resolution is sufficient for the print format selected. If it's not, you may try with a smaller print size. Please note that if the resolution is not high enough, you will not be able to get it printed.
-
With each order, we will inform you of the expected delivery date. This date ids usually right, but is not guarantied. It may be preferable to call the store prior to picking them up.
-
Except for a few statutory holidays, print orders are usually ready and shipped to the pick-up store within 3 to 5 working days after the order is received.
-
For Photobooks, photo calendars and cards, delivery time is estimated to 7 working days.
The Making of a Photobook
- Select your type of book on the Web site.
- Pick your images and decide on their order in the book prior to their transfer.
- Cover's Look. Select the images for the cover and add a title.
- View and edit the automatic layout
- If the proposed book is fine with you, just finalize the order by adding it to the basket.
- If the proposed book layout does not quite meet with your expectations, you can edit it all in our Editing Mode. Note: JPEG (extensions .jpg or .jpeg) is the only image format accepted.
- Add to cart, place the order and confirm it.
Select and organize your images: Make your photo selection in advance and place them in a folder. This will speed up the process.
Plan your layout: Before you start, ask yourself how many pages you'd like. Then, try to tell a story with your images.
Pick a theme! Focus on one idea! Regroup your images under one theme be it places, events, activities.
- Step 1 – Pick your images and prepare them for layout.
- Select your images and bring them on the worktable for your book project.
- Organize and arrange the selected images.
The book by default will use all selected images in the order they were transferred on the worktable.
At this stage, make sure images are properly oriented and organized in the right order.
- Step 2 – Cover components.
- Two images will be suggested upfront for the cover.
- The first and last images on the worktable will automatically be inserted on the front and the back of the cover respectively. Note: These images may be used again within the book.
- Personalize the cover by adding a title and text on the front and the back of the cover. You may even add copy on the spine of the book. For more details on the cover possibilities and the use of images on both the cover and a page inside, please view the Help section.
- Step 3 – Book editing
Once the cover of the book is completed, the software automatically creates a Photo Book.- If you like what you see, you may order it instantly by clicking on "Add to basket."
- If you want to make changes, then choose Editing Mode where you will be able to reorganize images, add or remove pages, insert themes, re-use images or add text.
My saved projects
- A project that has been ordered is stored on our servers for a period of 3 years. After 36 months of inaction, it will be permanently deleted.
- A project that has never been ordered is stored on our servers for a period of 1 year. After 12 months of inaction, it will be permanently deleted.
The expiry date of your photo projects - ordered and never ordered - can be extended for a period of 6 months.
Please note that products from the ‘DIGITAL PRINTING’ family are stored on our servers for a period of 14 days.
Step 1
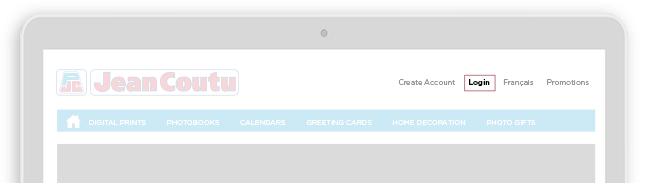
Go to the Jean Coutu Photo Center website and log in to your photo account by clicking on "Login".

Step 2
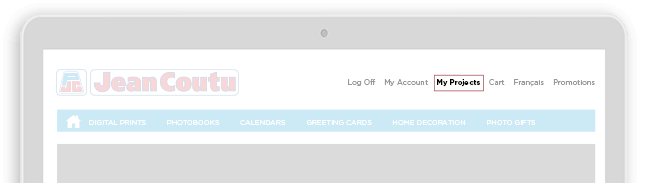
Once logged into your photo account, click on "My Projects".
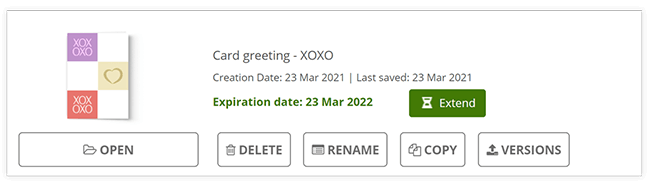
Step 3
Once in the project manager, select "Nearing expiry project" on the left menu and choose the projects you want to keep by clicking on "Extend".
My photo account
Step 1
Go to the Jean Coutu Photo Center and log in to your photo account by clicking on "Login".
Step 2
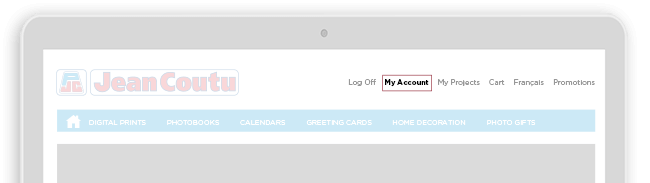
Once logged into your photo account, click on "My Account".
Step 3
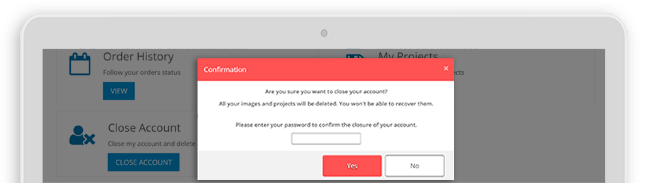
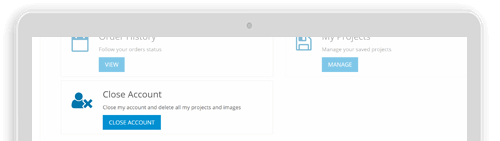
Once in the account manager, click on "Close Account".
Step 4
To confirm the closure of your account please enter your password in the dialog box that appears on your screen.